Ombre Dip Nails: A Gradient of Elegance and Style
In the dynamic world of nail artistry, “Ombre Dip Nails” have emerged as a captivating trend that seamlessly blends elegance with creative flair. This technique, known for its smooth color transitions and stunning gradient effects, offers a contemporary twist to traditional nail designs. In this article, we’ll delve into the enchanting realm of Ombre Dip Nails, explore their distinctive features, and provide insights into achieving this mesmerizing look.
Introducing Ombre Dip Nails: A Fusion of Colors and Creativity
Ombre Dip Nails introduce a gradient effect that transitions from one color to another, creating a visually striking and seamless blend. This technique goes beyond traditional nail polish application, offering a dynamic and artistic approach to nail design.

The Artistry of Ombre Dip Nails: A Delightful Gradient
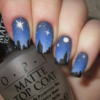
The beauty of Ombre Dip Nails lies in the smooth transition of colors. Whether you opt for soft pastels, bold hues, or even daring contrasts, the gradual shift from one shade to another adds depth and dimension to your nails.
Creating Ombre Dip Nails: Steps to Achieving the Perfect Gradient
- Preparation: Begin by prepping your nails. Shape them to your desired length and clean the nail surface thoroughly to ensure proper adhesion.
- Base Coat: Apply a base coat to protect your natural nails and create a smooth canvas for the ombre effect.
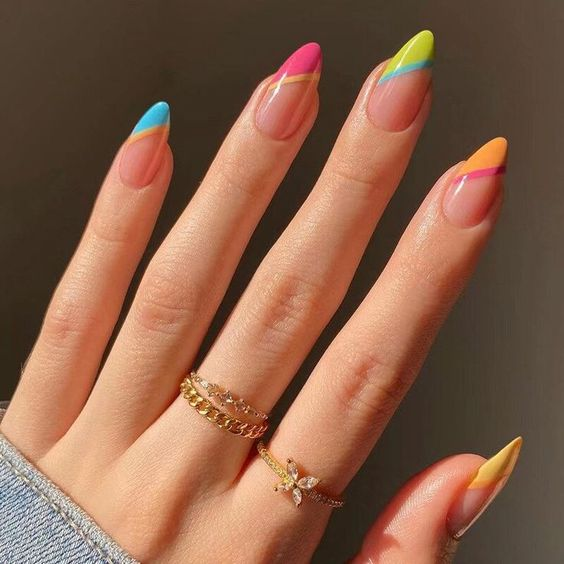
- Color Selection: Choose the colors you want for your ombre gradient. You can select colors from the same color family for a subtle transition or experiment with complementary colors for a bold look.
- Dip Powder Application: Begin by applying the lightest color as your base. Dip your nail into the corresponding dip powder and tap off any excess. Repeat this step for each nail.
- Transition Colors: For the transition, use a makeup sponge or a sponge applicator to blend the colors. Apply the two chosen colors onto the sponge, slightly overlapping them. Gently dab the sponge onto your nails, creating a gradient effect.
- Repeat and Refine: Repeat the dip powder application process with the second color, starting slightly above where the first color ended. Tap off excess powder and ensure a smooth transition.
- Top Coat: Finish your Ombre Dip Nails with a high-quality top coat. This not only seals the design but also adds a glossy finish that enhances the gradient effect.
Ombre Dip Nails: An Expression of Individuality
Ombre Dip Nails empower you to express your unique style through captivating color transitions. Whether you prefer subtle elegance or vibrant statements, Ombre Dip Nails offer a versatile canvas for creativity. With each nail showcasing a flawless gradient, you’re embracing an artful manicure that combines elegance with contemporary flair. Elevate your nail game with Ombre Dip Nails, and let your fingertips tell a story of beauty, style, and creative artistry.