Elegance and Glamour: Embrace the Beauty of White Glitter Acrylic Nails
In the ever-evolving world of nail art, one style that has consistently captured hearts and turned heads is the enchanting White Glitter Acrylic Nails. This exquisite nail trend combines the timeless appeal of white nails with the sparkling allure of glitter, resulting in a look that exudes elegance and glamour. In this article, we will explore the magic of white glitter acrylic nails, from understanding the basics to achieving this dazzling nail art.
Understanding White Glitter Acrylic Nails
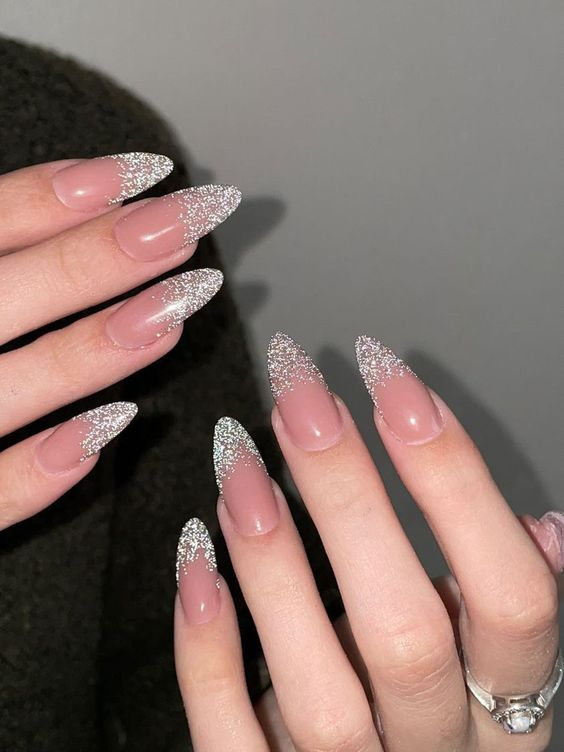
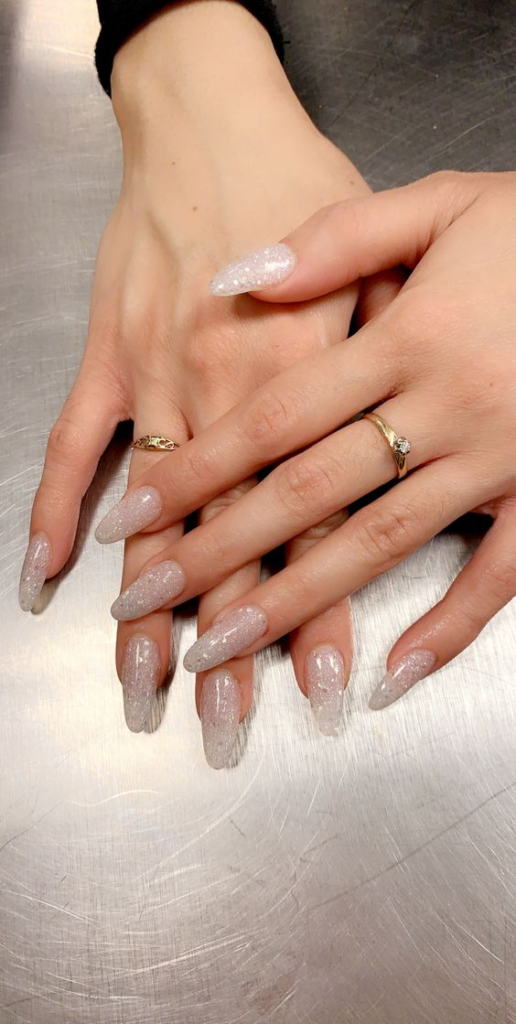
White glitter acrylic nails, also known as sparkle or shimmer nails, combine the purity and sophistication of white with the dazzling effect of glitter. The result is a versatile and stunning nail style that can be customized to suit various occasions, from weddings and special events to everyday chic. These nails are perfect for those seeking a touch of opulence and sophistication in their beauty routine.
Essential Tools and Materials
Before you embark on your journey to create white glitter acrylic nails, gather the following tools and materials:
- Acrylic Nail Kit: This kit typically includes acrylic powder, acrylic liquid (monomer), acrylic brush, and nail forms or tips.
- White Acrylic Powder: The base color for your white glitter acrylic nails.
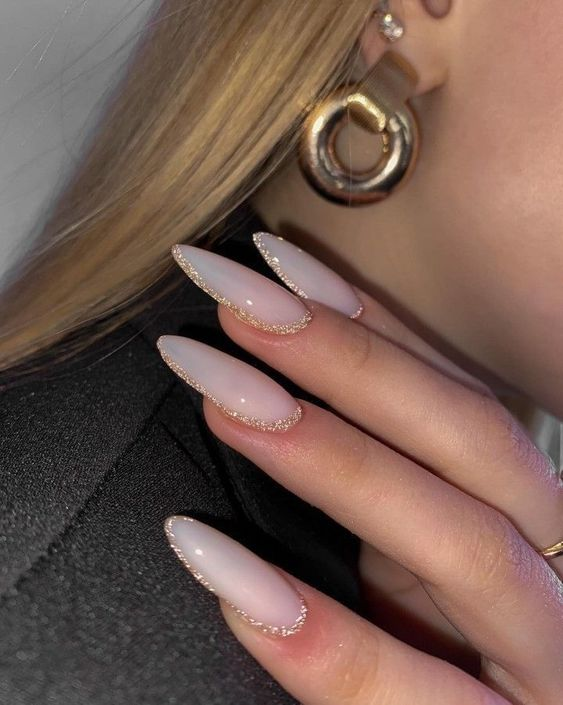
- Glitter: Choose a high-quality glitter that complements your white acrylic powder. You can opt for fine glitter for a subtle effect or chunky glitter for a bolder look.
- Top Coat: Invest in a top coat to seal and protect your nail art.
- Nail File and Buffer: These will help shape and smooth your acrylic nails.
- Nail Polish Remover and Cotton Balls/Pads: These are essential for cleanup.
Step-by-Step Guide to Creating White Glitter Acrylic Nails
Let’s dive into the step-by-step process of achieving those dazzling white glitter acrylic nails:
Step 1: Prepare Your Natural Nails
Start by ensuring your natural nails are clean and trimmed. Push back your cuticles and gently buff the nail surface for a smooth canvas.
Step 2: Apply Nail Forms or Tips
If you’re using nail forms, apply them to the tips of your natural nails. Alternatively, you can apply nail tips if you prefer an extension.
Step 3: Create the Acrylic Base
Dip your acrylic brush into the monomer and then into the white acrylic powder. Apply this mixture to your nails, shaping them as desired. Allow them to dry and harden.
Step 4: Apply Glitter
To create the white glitter effect, mix a small amount of glitter with clear acrylic powder. Dip your acrylic brush into the monomer and then into the glitter-acrylic mixture. Apply this to your nails in a thin layer, focusing on the tips or any specific areas you want to accentuate. Allow it to dry.
Step 5: Shape and Buff
Once your acrylic nails are dry, use a nail file and buffer to shape and smooth them to your desired look.
Step 6: Apply Top Coat
Seal your white glitter acrylic nails with a top coat. This will enhance the shine and protect your nail art.
Step 7: Cleanup
Check for any excess acrylic or glitter around the edges of your nails or on your skin. Use a cotton ball or pad dipped in nail polish remover to clean up any imperfections.
With these steps, you can achieve the enchanting beauty of white glitter acrylic nails. Whether you’re dressing up for a special occasion or simply want to add a touch of elegance to your everyday look, these nails are a stunning choice that will elevate your style. Experiment with different glitter sizes and patterns to create a variety of captivating combinations that suit your unique taste.