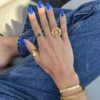
Cherry Nail Design: Adding a Touch of Sweetness to Your Manicure
In the world of nail art, creativity knows no bounds, and one design that’s capturing hearts and imaginations is the charming cherry nail design. With its playful yet sophisticated appeal, cherry nail art adds a delightful touch to your manicure, bringing a pop of color and a hint of nostalgia to your fingertips. In this comprehensive guide, we’ll explore the allure of cherry nail designs, how to create them, and why they’re a must-try trend for those who appreciate both beauty and whimsy.
The Temptation of Cherry Nail Designs
Cherry nail designs infuse a sense of fun and sweetness into your manicure. Here’s why they’re creating a buzz in the nail art world:
1. Playful Elegance: Cherries are not only a symbol of nature’s bounty but also evoke memories of picnics and summer days. This playful design adds a touch of elegance to that sense of nostalgia.
2. Versatile Color Palette: Cherry nail designs come in various color combinations, allowing you to tailor the design to your preferred style and outfit choices.
3. Expressive Creativity: From minimalist cherry accents to intricate full-nail designs, cherry nail art provides a creative outlet for expressing your personality.
4. Perfect for All Seasons: While cherries are often associated with summer, cherry nail designs can be adapted to fit any season, making them a versatile choice.
Creating Your Cherry Nail Design
Crafting cherry nail art is an enjoyable process that can be achieved with a few simple steps:
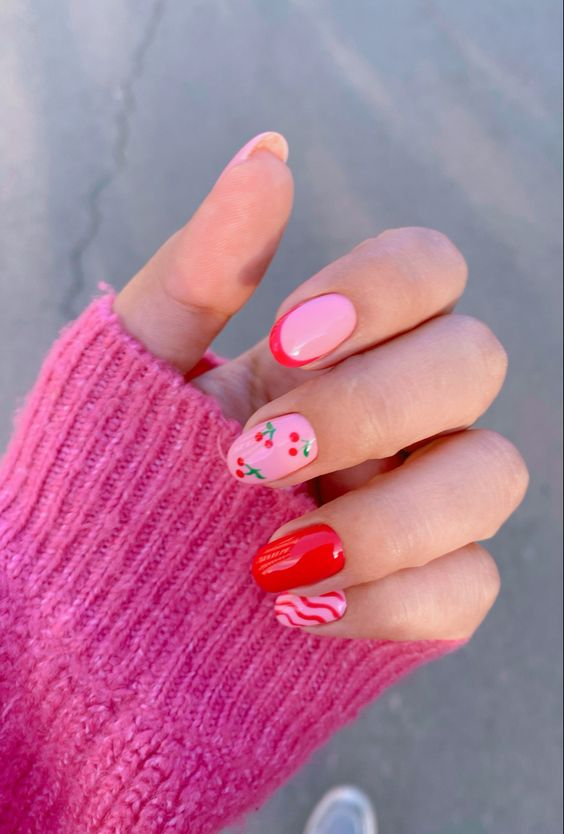
1. Gather Your Supplies: You’ll need a base nail polish color (usually red or pink), green nail polish, a dotting tool or toothpick, top coat, and a small brush (optional).
2. Apply Base Color: Start with your chosen base color. Red and pink are popular choices, as they resemble the color of ripe cherries.
3. Add Cherry Shapes: Using the dotting tool or toothpick, create cherry shapes on your nails. Cherries are typically represented by two adjacent circles.
4. Add Stems: With the green nail polish, add small lines for the stems of the cherries. You can use the dotting tool or a thin brush for this step.
5. Highlight and Details: To add dimension, use a lighter shade of the base color to highlight certain areas of the cherries. You can also add tiny white dots to represent reflections.
6. Seal with Top Coat: Finish your cherry nail design with a clear top coat to seal the design, add shine, and ensure its longevity.
Why Choose Cherry Nail Designs
Cherry nail designs offer a range of benefits that make them a delightful choice for nail enthusiasts:
1. Whimsical Charm: Cherry nail art brings a sense of whimsy and fun to your manicure, making it a conversation starter and a mood lifter.
2. Customization: You can adapt the design to suit your preferences, whether you want a bold and vibrant look or a more subtle and delicate style.
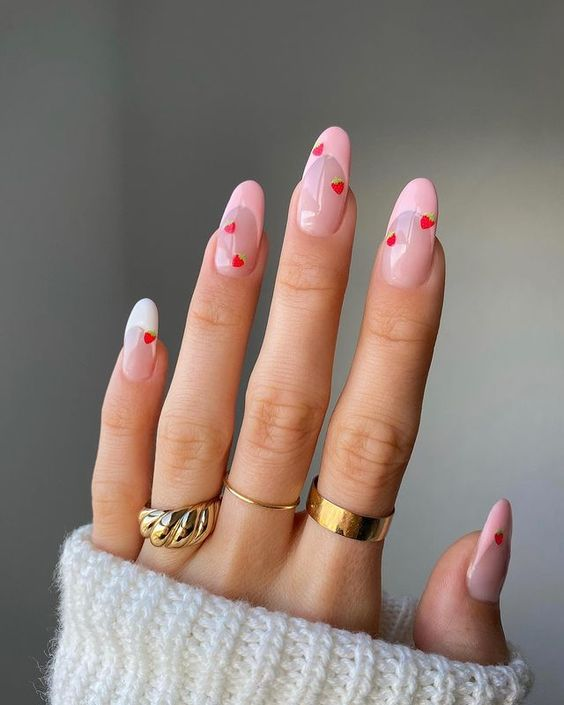
3. Nostalgic Appeal: Cherries evoke a sense of nostalgia, making this design a wonderful way to celebrate memories and experiences.
4. Easy to Personalize: Cherry nail designs can be combined with other nail art techniques, like ombre or glitter, to create a unique and personalized look.
Nail Art that Pops
Cherry nail designs bring a burst of sweetness and creativity to your manicure, making your fingertips a canvas for playful elegance. Whether you’re heading to a summer party or simply want to embrace the joy of cherries, this nail art trend offers a delightful way to express yourself. From minimalist accents to full-on cherry patterns, this design is a charming reminder that nail art is as much about fun as it is about beauty.