Achieving Luxurious Gold Ombre Nails: Your Ultimate Guide
In the world of nail art, trends come and go, but one timeless and luxurious style that continues to captivate is the Gold Ombre Nails. This stunning nail design seamlessly blends elegance and creativity, making it a go-to choice for those who want their nails to exude opulence and glamour. In this comprehensive guide, we will explore everything you need to know about achieving the perfect gold ombre nail look, from understanding the basics to mastering the technique.
Understanding Gold Ombre Nails
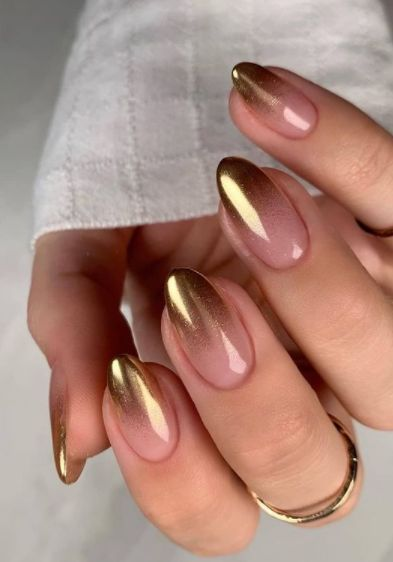
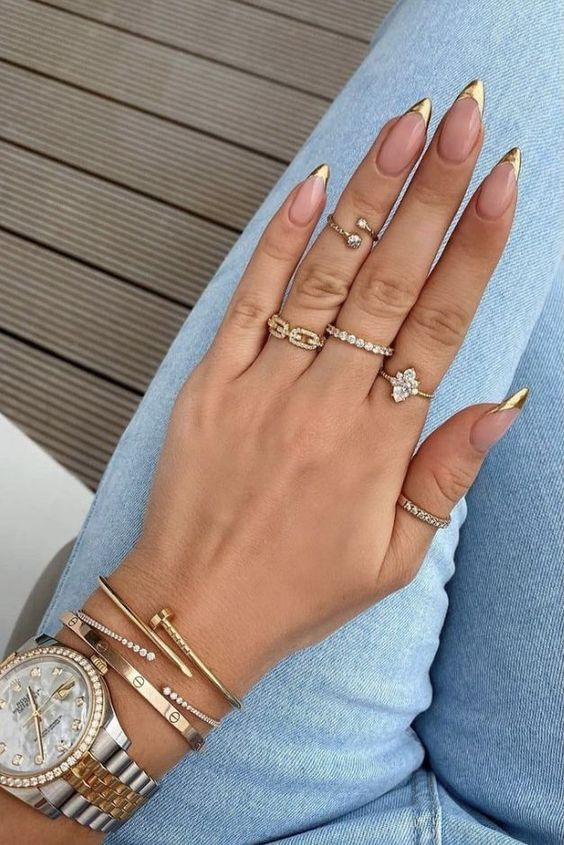
Gold ombre nails are a nail art style that combines gradient coloring with the opulent allure of gold. The word “ombre” itself refers to the gradual blending of one color into another, creating a subtle yet striking transition. When gold is incorporated into this design, it elevates the entire look, making it suitable for various occasions, from formal events to everyday chic.
Essential Tools and Materials
Before embarking on your gold ombre nail journey, it’s crucial to gather the necessary tools and materials:
- Nail Polish: Choose two complementary nail polish colors—a base color and a gold shade. The base color sets the foundation for the ombre effect.
- Makeup Sponge: A disposable makeup sponge is a key tool for achieving a smooth gradient transition.
- Top Coat: Invest in a high-quality top coat to seal and protect your nail art, ensuring longevity and shine.
- Nail Polish Remover: Keep a nail polish remover and cotton balls or pads handy for cleanup.
- Nail Art Brushes: Precision brushes can be useful for touch-ups and intricate detailing.
Step-by-Step Guide to Creating Gold Ombre Nails
Now, let’s dive into the step-by-step process of achieving those stunning gold ombre nails:
Step 1: Prepare Your Nails
Begin by ensuring your nails are clean and trimmed to your desired length. Push back your cuticles and buff the nail’s surface for a smooth canvas.
Step 2: Apply Base Color
Start with your chosen base color. Apply a thin layer evenly across all your nails and allow it to dry completely. This color will serve as the background for your gold ombre.
Step 3: Prepare the Makeup Sponge
Cut a small piece from the makeup sponge. This will be used to create the ombre effect. Apply a small amount of your gold nail polish to the sponge.
Step 4: Create the Ombre Effect
Gently dab the gold-painted sponge onto your nail, starting at the tip and working your way toward the base. Reapply the gold polish to the sponge as needed and continue dabbing until you achieve a smooth gradient effect. Be patient; this step may require some practice.
Step 5: Clean Up Edges
Use a nail art brush dipped in nail polish remover to clean up any excess polish on your cuticles and skin. This will give your nails a polished look.
Step 6: Apply Top Coat
Once your ombre effect is dry and flawless, seal the look with a top coat. This will enhance the shine and protect your nail art.
Step 7: Final Touches
After your top coat has dried, inspect your nails for any imperfections. Use a nail art brush or cotton swab dipped in nail polish remover for any necessary touch-ups.
With this step-by-step guide, you’re well on your way to achieving the epitome of elegance with your gold ombre nails. Whether you’re dressing up for a special occasion or simply want to add a touch of luxury to your everyday look, gold ombre nails are the perfect choice for timeless beauty and sophistication. Experiment with different base colors and gold shades to create a variety of stunning combinations that suit your style.