Rhinestone Nail Art: Adding Glamour to Your Manicure
In the world of nail art, creativity knows no bounds. From intricate designs to bold colors, there are endless ways to express your style through your nails. One trend that has captured the hearts of many nail enthusiasts is rhinestone nail art. This dazzling and glamorous style allows you to elevate your manicure game to a whole new level. In this article, we’ll explore the world of rhinestone nail art, including design ideas, application techniques, and tips for maintaining your stunning nail bling.
What is Rhinestone Nail Art?
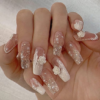
Rhinestone nail art involves the application of small, sparkling rhinestones or crystals to your nails. These tiny gems come in various shapes, sizes, and colors, allowing for endless creative possibilities. Rhinestones can be used to accentuate your nail designs, create intricate patterns, or add a touch of elegance to a simple manicure.
Design Ideas for Rhinestone Nail Art
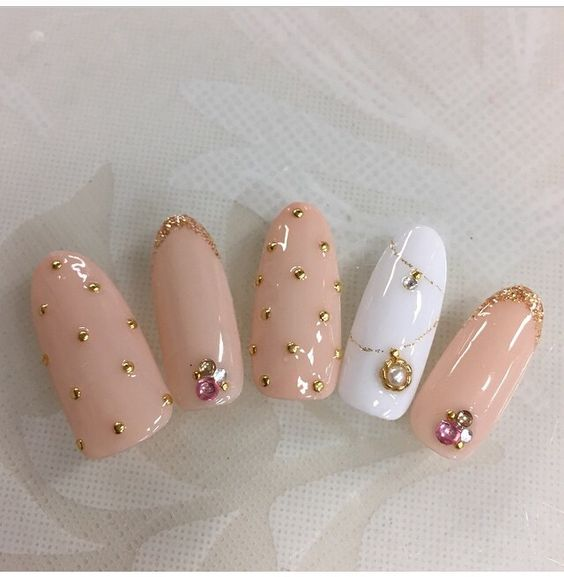
- Single Accent: For a subtle and elegant look, add a single rhinestone as an accent to one or more nails. This minimalist approach adds a touch of sparkle without overwhelming your manicure.
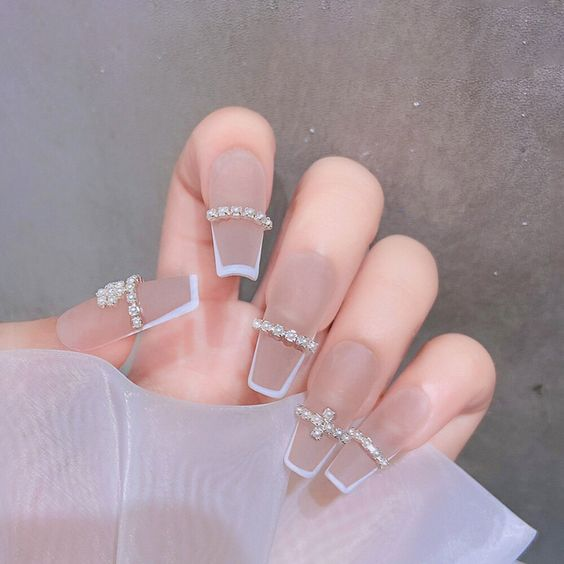
- Rhinestone French Tips: Replace the traditional white tips of a French manicure with rhinestones. This modern twist on a classic style adds a glamorous edge to your nails.
- Gradient Rhinestones: Create a gradient effect by arranging rhinestones in a pattern that transitions from one color to another. This eye-catching design adds depth and dimension to your nails.
- Full Rhinestone Coverage: For the ultimate glamorous statement, cover your entire nail with rhinestones. This bold and luxurious look is perfect for special occasions or when you want to make a statement.
- Rhinestone Flowers: Craft delicate floral designs by arranging rhinestones into flower shapes. These intricate patterns add a touch of nature-inspired elegance to your nails.
How to Apply Rhinestone Nail Art
Applying rhinestones to your nails may seem daunting, but with a few simple steps, you can achieve stunning results:
Step 1: Prepare Your Nails: Start with clean, dry nails. Apply a base coat to create a smooth surface.
Step 2: Apply Nail Adhesive: Use a clear nail adhesive or a specialized rhinestone glue. Apply a small amount to the area where you want to place the rhinestone.
Step 3: Place the Rhinestones: Using a nail art tool or tweezers, carefully pick up a rhinestone and place it onto the adhesive. Press gently to secure it in place.
Step 4: Seal with Top Coat: After all the rhinestones are in place, apply a top coat over your nails to seal the rhinestones and add extra durability and shine.
Tips for Maintaining Rhinestone Nail Art
- Be gentle with your nails to prevent rhinestones from popping off.
- Avoid exposing your nails to excessive moisture for extended periods.
- Use a cuticle oil or moisturizer regularly to keep your cuticles and skin hydrated.
- If a rhinestone becomes loose, you can secure it with a small drop of nail glue.
In conclusion, rhinestone nail art is a dazzling way to add glamour and sophistication to your manicure. Whether you opt for subtle accents or full-blown bling, rhinestones allow you to express your unique style and creativity. With proper application and care, your rhinestone-adorned nails will sparkle and shine, making a lasting impression wherever you go.